
Pams Prep Kitchen: All About Eggs
Perfect Poached Eggs
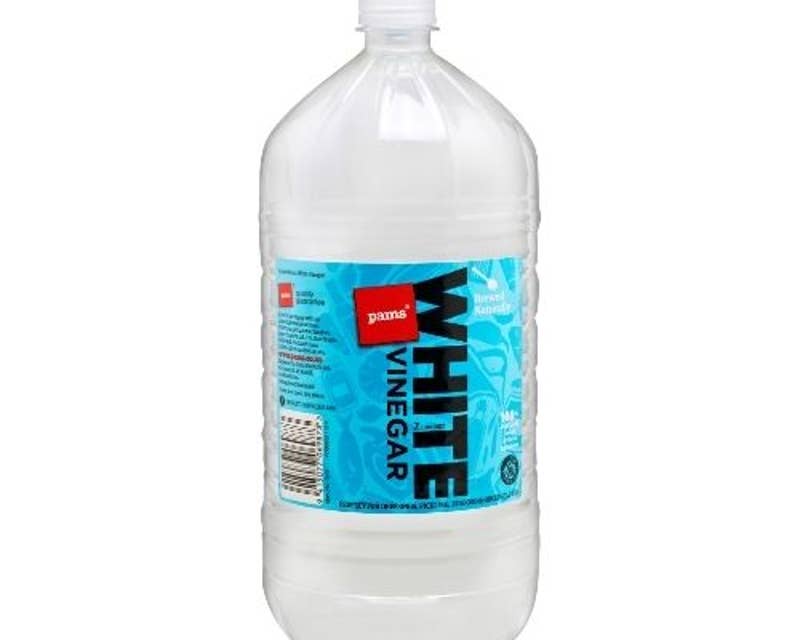
- Fill a saucepan with at least seven centimeters of waters and bring to the boil. Once rapidly boiling, add 2 tablespoons of white vinegar and reduce heat slightly, allowing the water to come to a rolling simmer (small bubbles appearing).
- Gently crack your eggs directly into the water. Or, if you’re a poachie beginner, try using a Pams Egg Poaching Pod for easier access. Or, try creating a whirlpool in the water by using a spoon and circling the water. This can help your poachies stay in a round shape. Crack your eggs directly into the centre of the whirlpool.
- If you’re poaching a few eggs at a time, make sure there’s some distance between them in the pot.
- Poach your eggs for 3 minutes until the whites have just set and the yolks are still runny. Note that the cooking time may vary slightly depending on the size and freshness of your eggs.
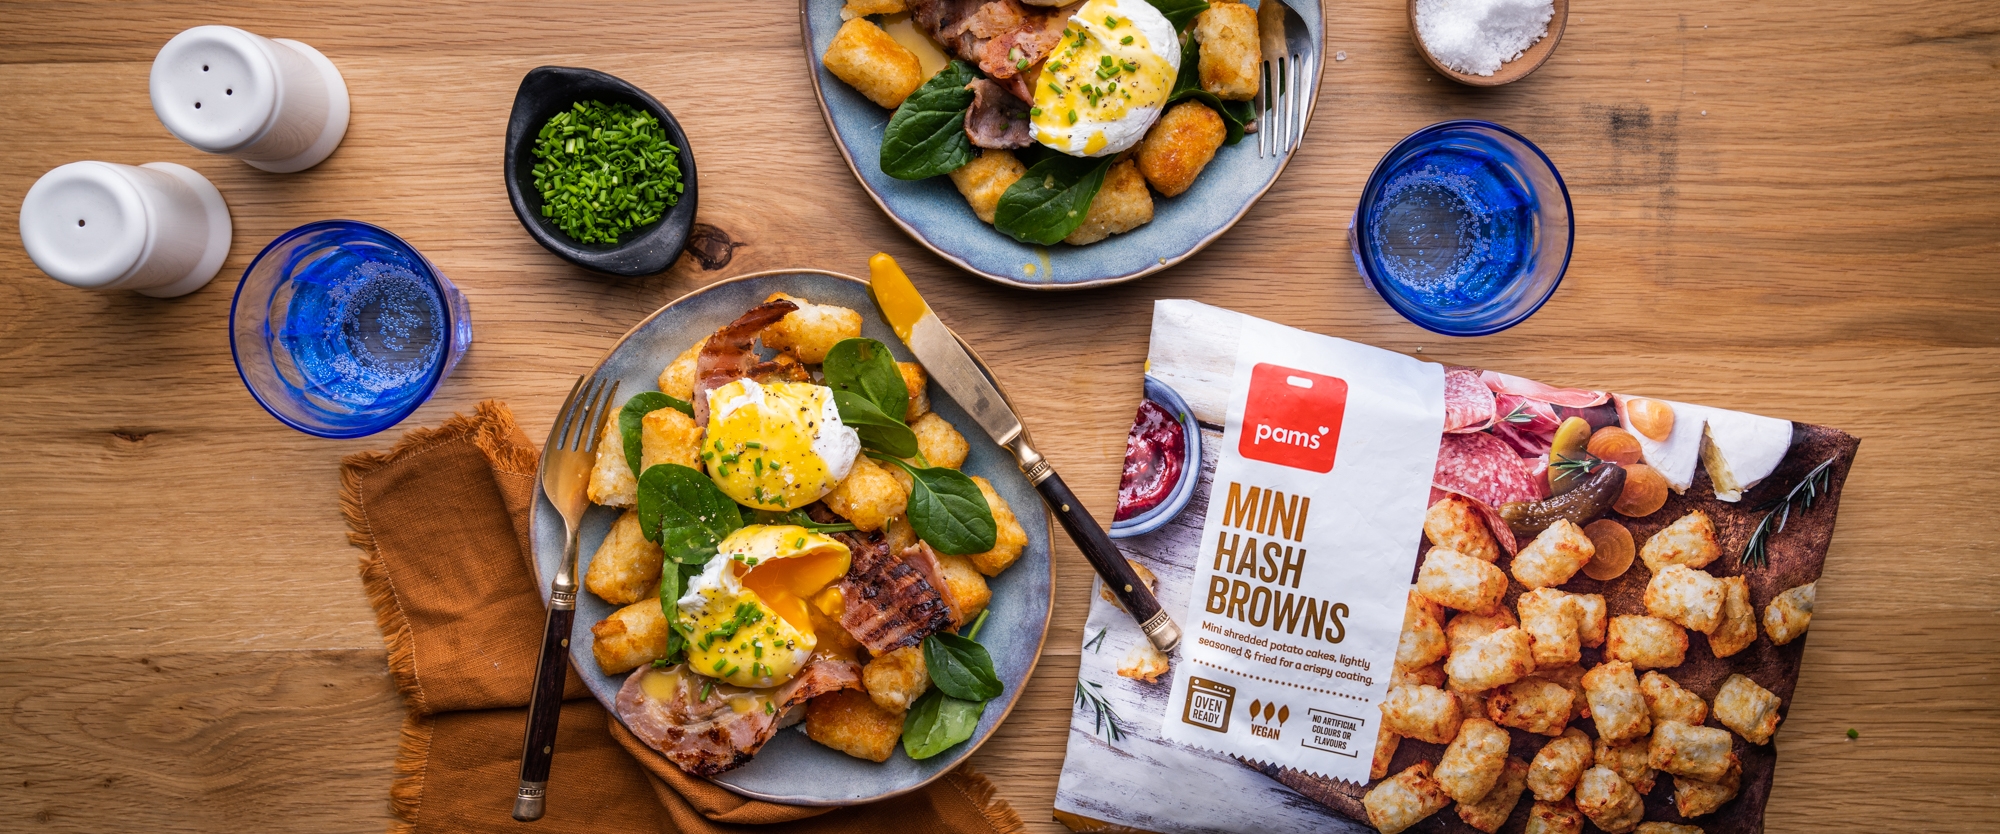
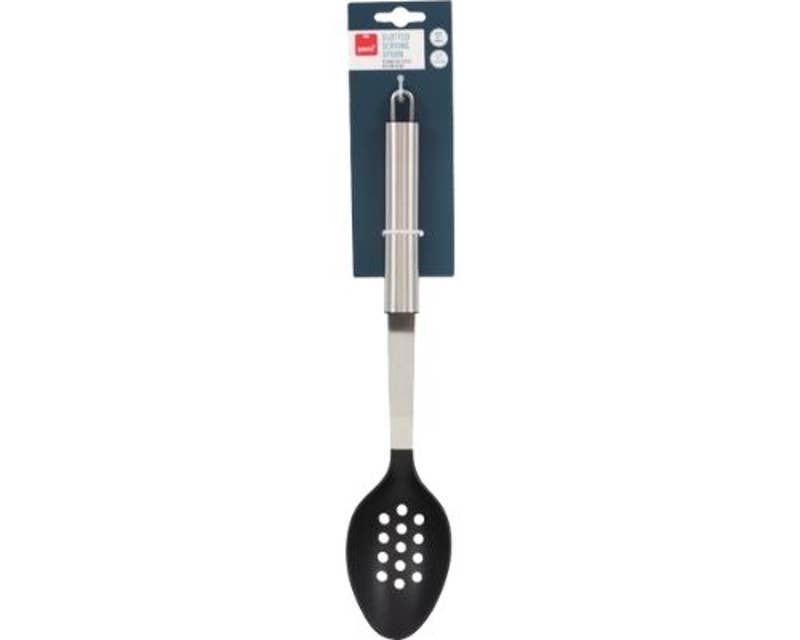
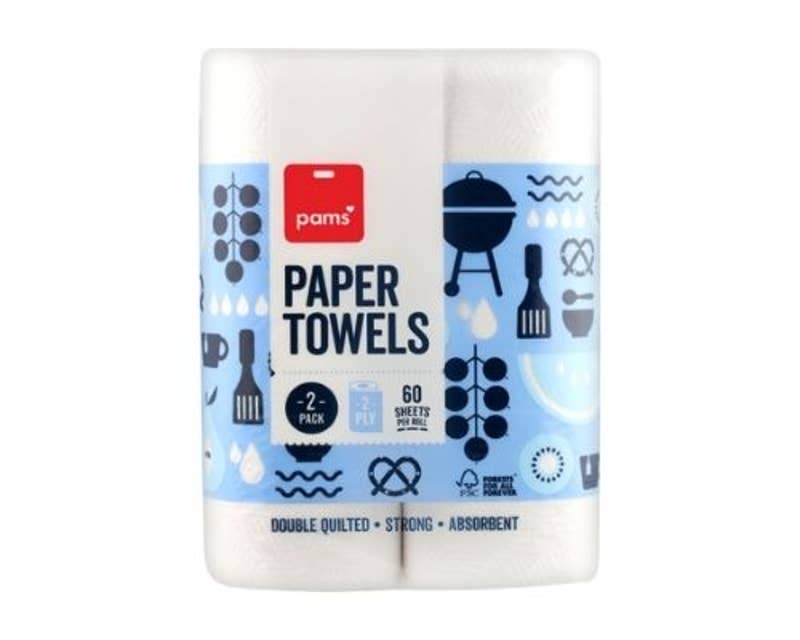
- Once cooked, remove from pan with a slotted spoon and allow to dry off on a paper towel before serving. Hot tip: You can poach eggs ahead of time – this is perfect for when you’re feeding a crowd or keen to do some weekly meal prep! Just submerge your perfect poachies into an ice bath when they have finished cooking (and store in the fridge for up to 2 days!) and when you’re ready to serve, gently place your poachies in a bowl of boiling water and allow to re-heat for 30 seconds. Now that you’re a pro at the perfect poachie, why not try them alongside our Mini Hashbrown Eggs Benedict, or pop one on top of our Whipped Feta with Mushrooms!
Ultimate Scrambled Eggs
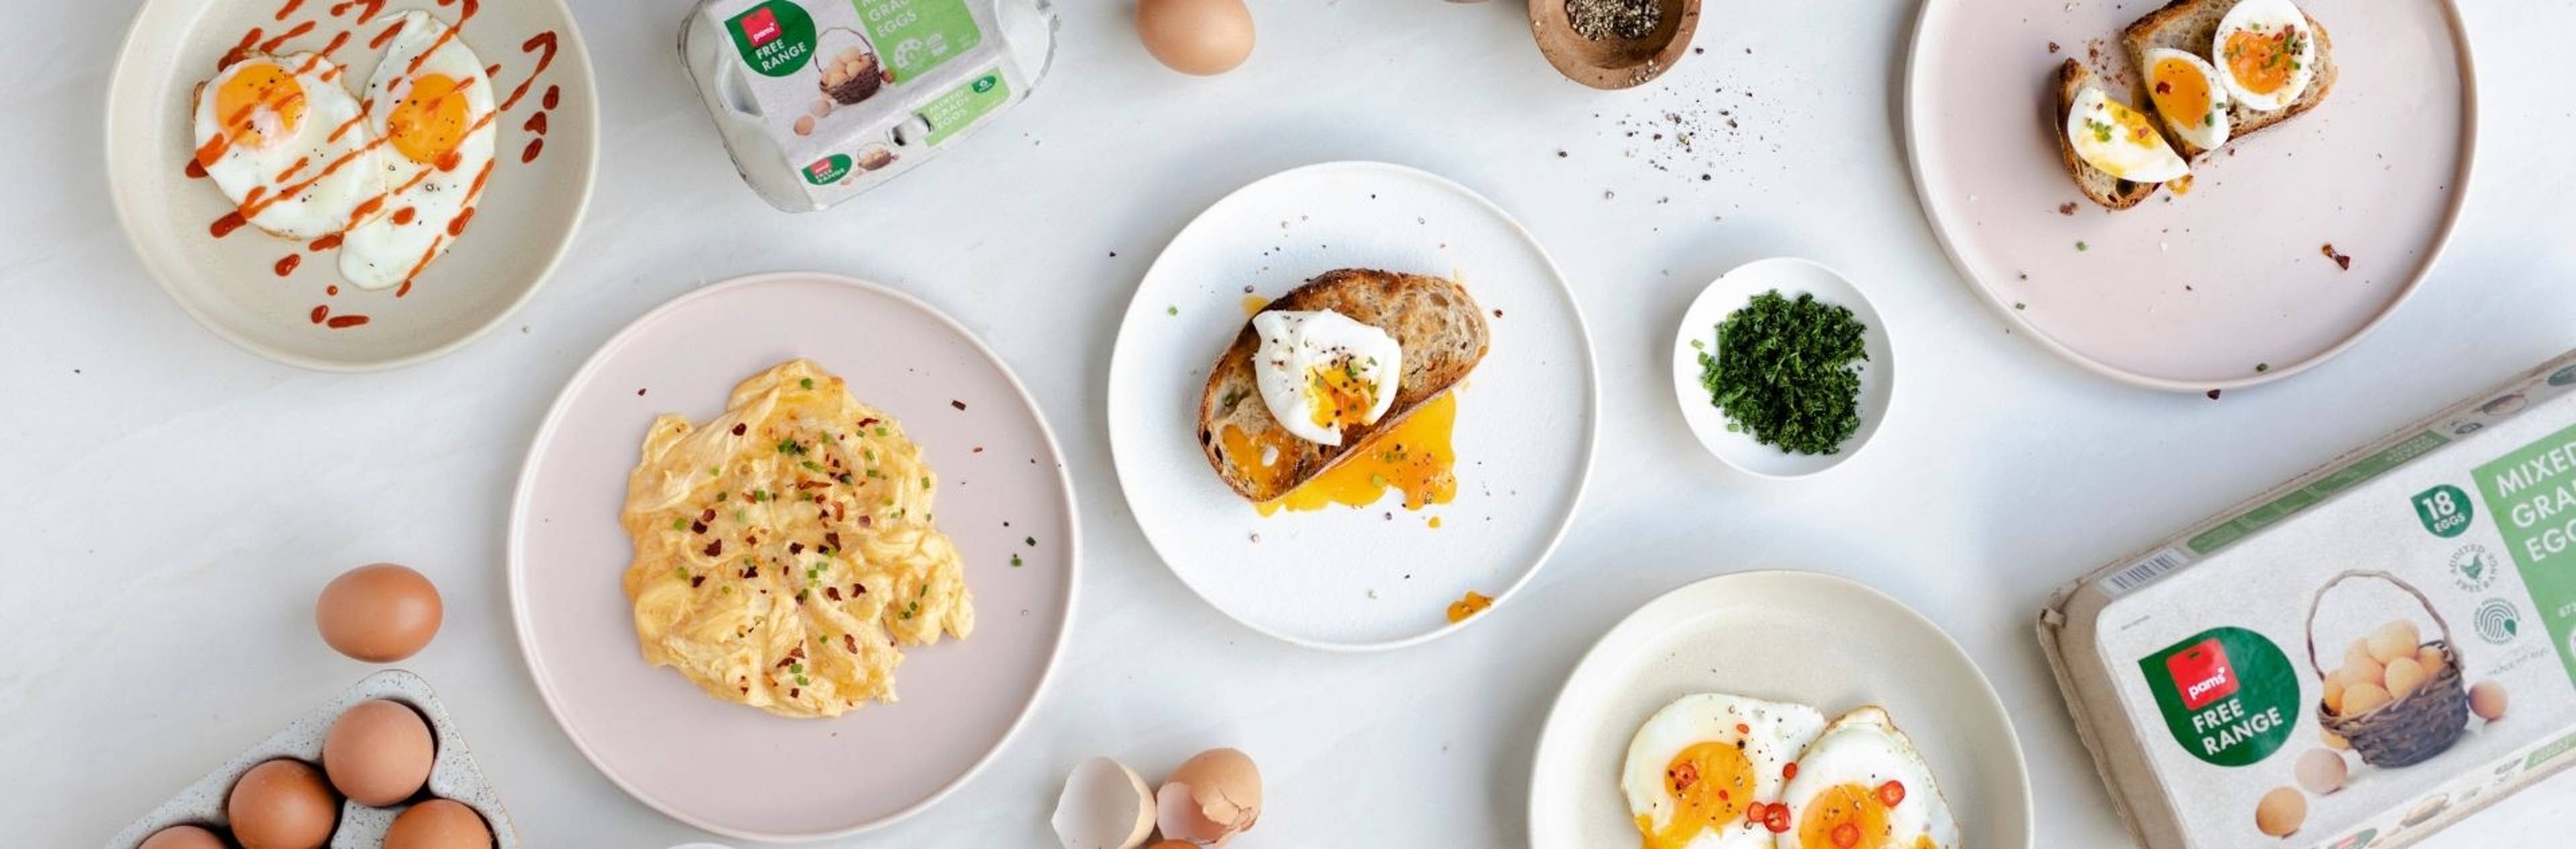
A staple in our family homes, eggs are the versatile ingredient that almost always has a place in our meals. Breakfast, lunch, and even dinner, an egg will never really go astray! Cost effective and good value for money keeps them accessible in Kiwi homes, making them an unstoppable meal addition. From omelets to meringues, an egg has all the opportunity for success.
The best eggs are free-range, with bright orange yolks and easy to crack shells. Eggs are chock-full of multivitamins and nutrients, containing around 6.5 grams of protein per standard egg – how good! Cooked in every form, eggs are great for fueling your body and adding to a healthy lifestyle!
We know how much you love eggs, so here at the Pams Prep Kitchen we have tried and tested your favourite eggs to ensure a fail-safe solution to café-style eggs at home!
The classic scrambled on toast (maybe with a cheeky smear of vegemite) is a simple meal-solution that we all know and love. We know the perfect scrambled eggs are debatable, but our way is how to achieve the softest, gooiest eggs for a fail-safe, delicious breakfast. This method will take a bit longer, but your efforts will be worth it! We call this technique the Low & Slow. Just remember that temperature is a delicate thing, so make sure to take note of it even when you’ve taken your eggs off of the heat!
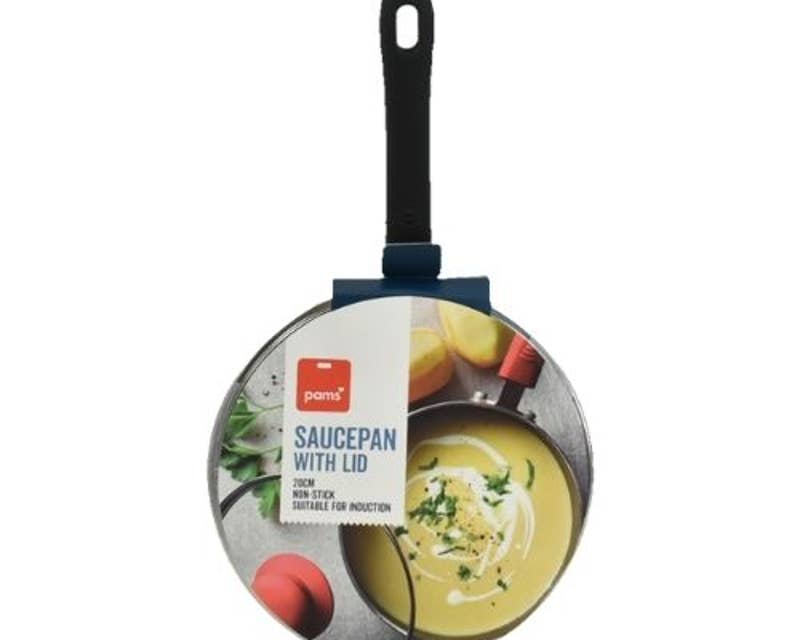
1. Pop a Pams Non-stick Pan on your smallest element and keep it on the lowest temperature – this will give you more control. Melt about a teaspoon of butter or oil per serving of eggs. We recommend 2 eggs per person for a standard serving size.
2. Crack the eggs into a mixing bowl, season with salt & pepper, and beat with a fork until well combined.
3. Pour your eggs in before the pan gets too hot and start folding them while they cook. Use a spatula so you can gently fold the eggs, without any sticking.
4. Continue stirring until the eggs are silky and slightly underdone to your liking – the heat of the pan will keep cooking them even when off the element. If you’ve accidentally let the pan get too hot, take the eggs off straight away and add a knob of butter to help release them from sticking and keep them creamy.
5. Remove and serve on lightly buttered toast.
We love serving our soft scrambled eggs with Pams Hot Smoked Salmon & avocado.
Hot Tip: If you were aiming for delicious scrambled eggs but the pan became too hot, simply leave the eggs to set and bubble where they can be diverted into an omelet! Throw some cheese on top, fold in half and you’re good to go.
Equipment Needed
Everything you need for the perfect poachie.
1 / 0
Weekend Fried Eggs
- Add a glug of olive oil to your Pams Non-stick Pan and turn onto medium high heat.
- Once the oil is shimmering slightly (about 1 minute of heating up), crack in your eggs.
- When the egg is slightly set, tilt the pan to redistribute the oil and get the edges crispy. If you find that the bottom of your egg is cooking too fast and the white is still a little translucent, turn down the heat and pop on a lid. It doesn’t need to be the perfect lid for your fry pan - it can be any one from your collection, as long as the egg is covered.
- For sunny-side up fried eggs - once the yolk is cooked to your liking and the whites are completely cooked, take it off the heat and immediately remove from the pan.
- For over-easy fried eggs, flip the egg after 2 minutes of cooking, and leave for 30 more seconds before removing from the pan.
Hot Tip: Covering your pan with a lid helps turn it into a small oven space to distribute the heat around evenly. This is especially important in colder weather when the heat from your stove top is battling the cool of the kitchen air!
Easy Boiled Eggs
Quick to cook and great to keep stored in the fridge - boiled eggs are a treat for all ages! Pop them in the kid's lunchbox, take to the office as a snack, or to the gym for some protein on-the-go. Buttered toast soldiers dipped in a runny yolk is also the ultimate comfort breakfast, or top a beautiful
with freshly hard-boiled eggs. This style of egg has such variety, just adjust the cook time based on your preference. If you’re feeding a few, make sure the temperature of your water comes up to a rolling boil before starting your timer – lots of eggs in the pot can affect cooking consistency!
We always recommend using fresher eggs, but in this case, older eggs are actually easier to peel! Just pop an egg in a glass of water to check its age, and if it doesn’t float, you're good to go.
1. Bring a large pot of water to the boil over medium-high heat. Using tongs or a slotted spoon, gently lower the eggs into the water one at a time.
2. If you like your eggs soft-boiled with a runny yolk, boil for 4 minutes. If you prefer a jammy yolk, boil your eggs for 6 minutes. If you’re looking for a harder yolked egg, boil for 8-10 minutes.
3. Once cooked to your desired consistency, remove eggs from the pot and place in a bowl of water with ice to stunt the cooking time. No need to worry if some crack or split – they're still just as tasty!
4. Once cooled, dry and gently tap the egg against a hard surface and peel away the shell. Refrigerate boiled eggs, with their shells removed, for up to 1 week in an air-tight container.
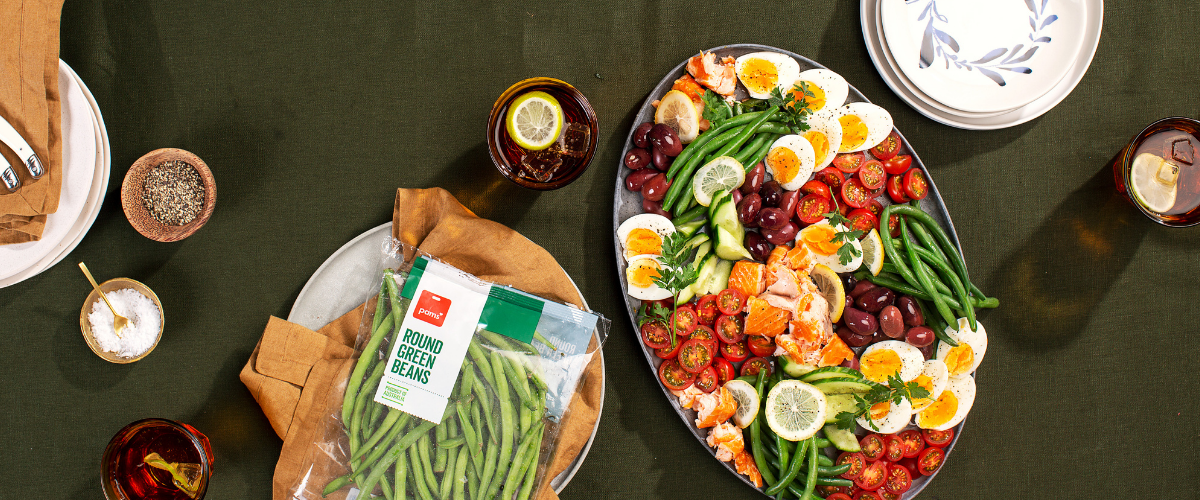
We love popping hard-boiled eggs in our Classic Fish Pie, or adding them to our Salad Niçoise
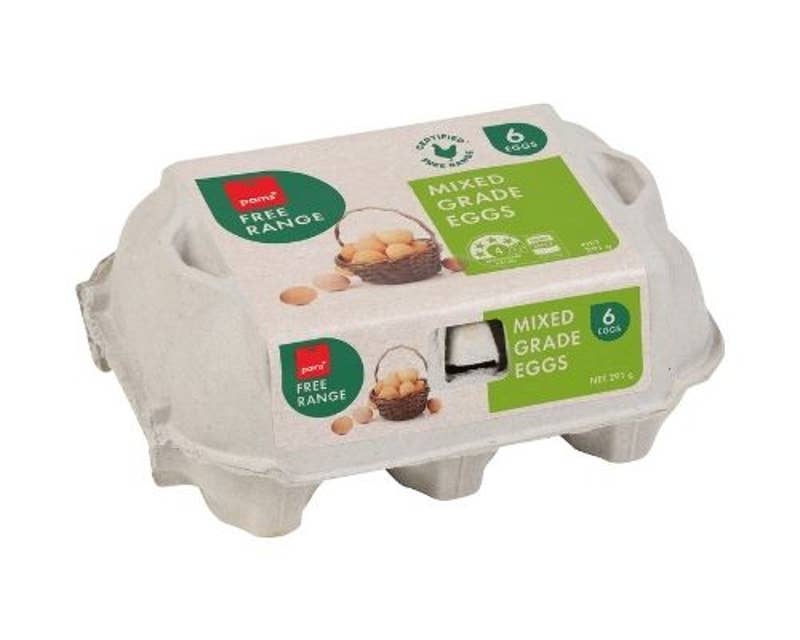
The Versatility of Pams Free-Range Eggs.
Pams Free-Range Eggs are a pantry must-have. From brunch to baking, these little gems are an essential ingredient in a whole range of cooking - their versatility is endless!
Independently audited to ensure they meet strict animal welfare guidelines, enjoy piece of mind in your kitchen when cooking with Pams Free Range.